
How to Make Popsicle Photo Book
9:13 AM
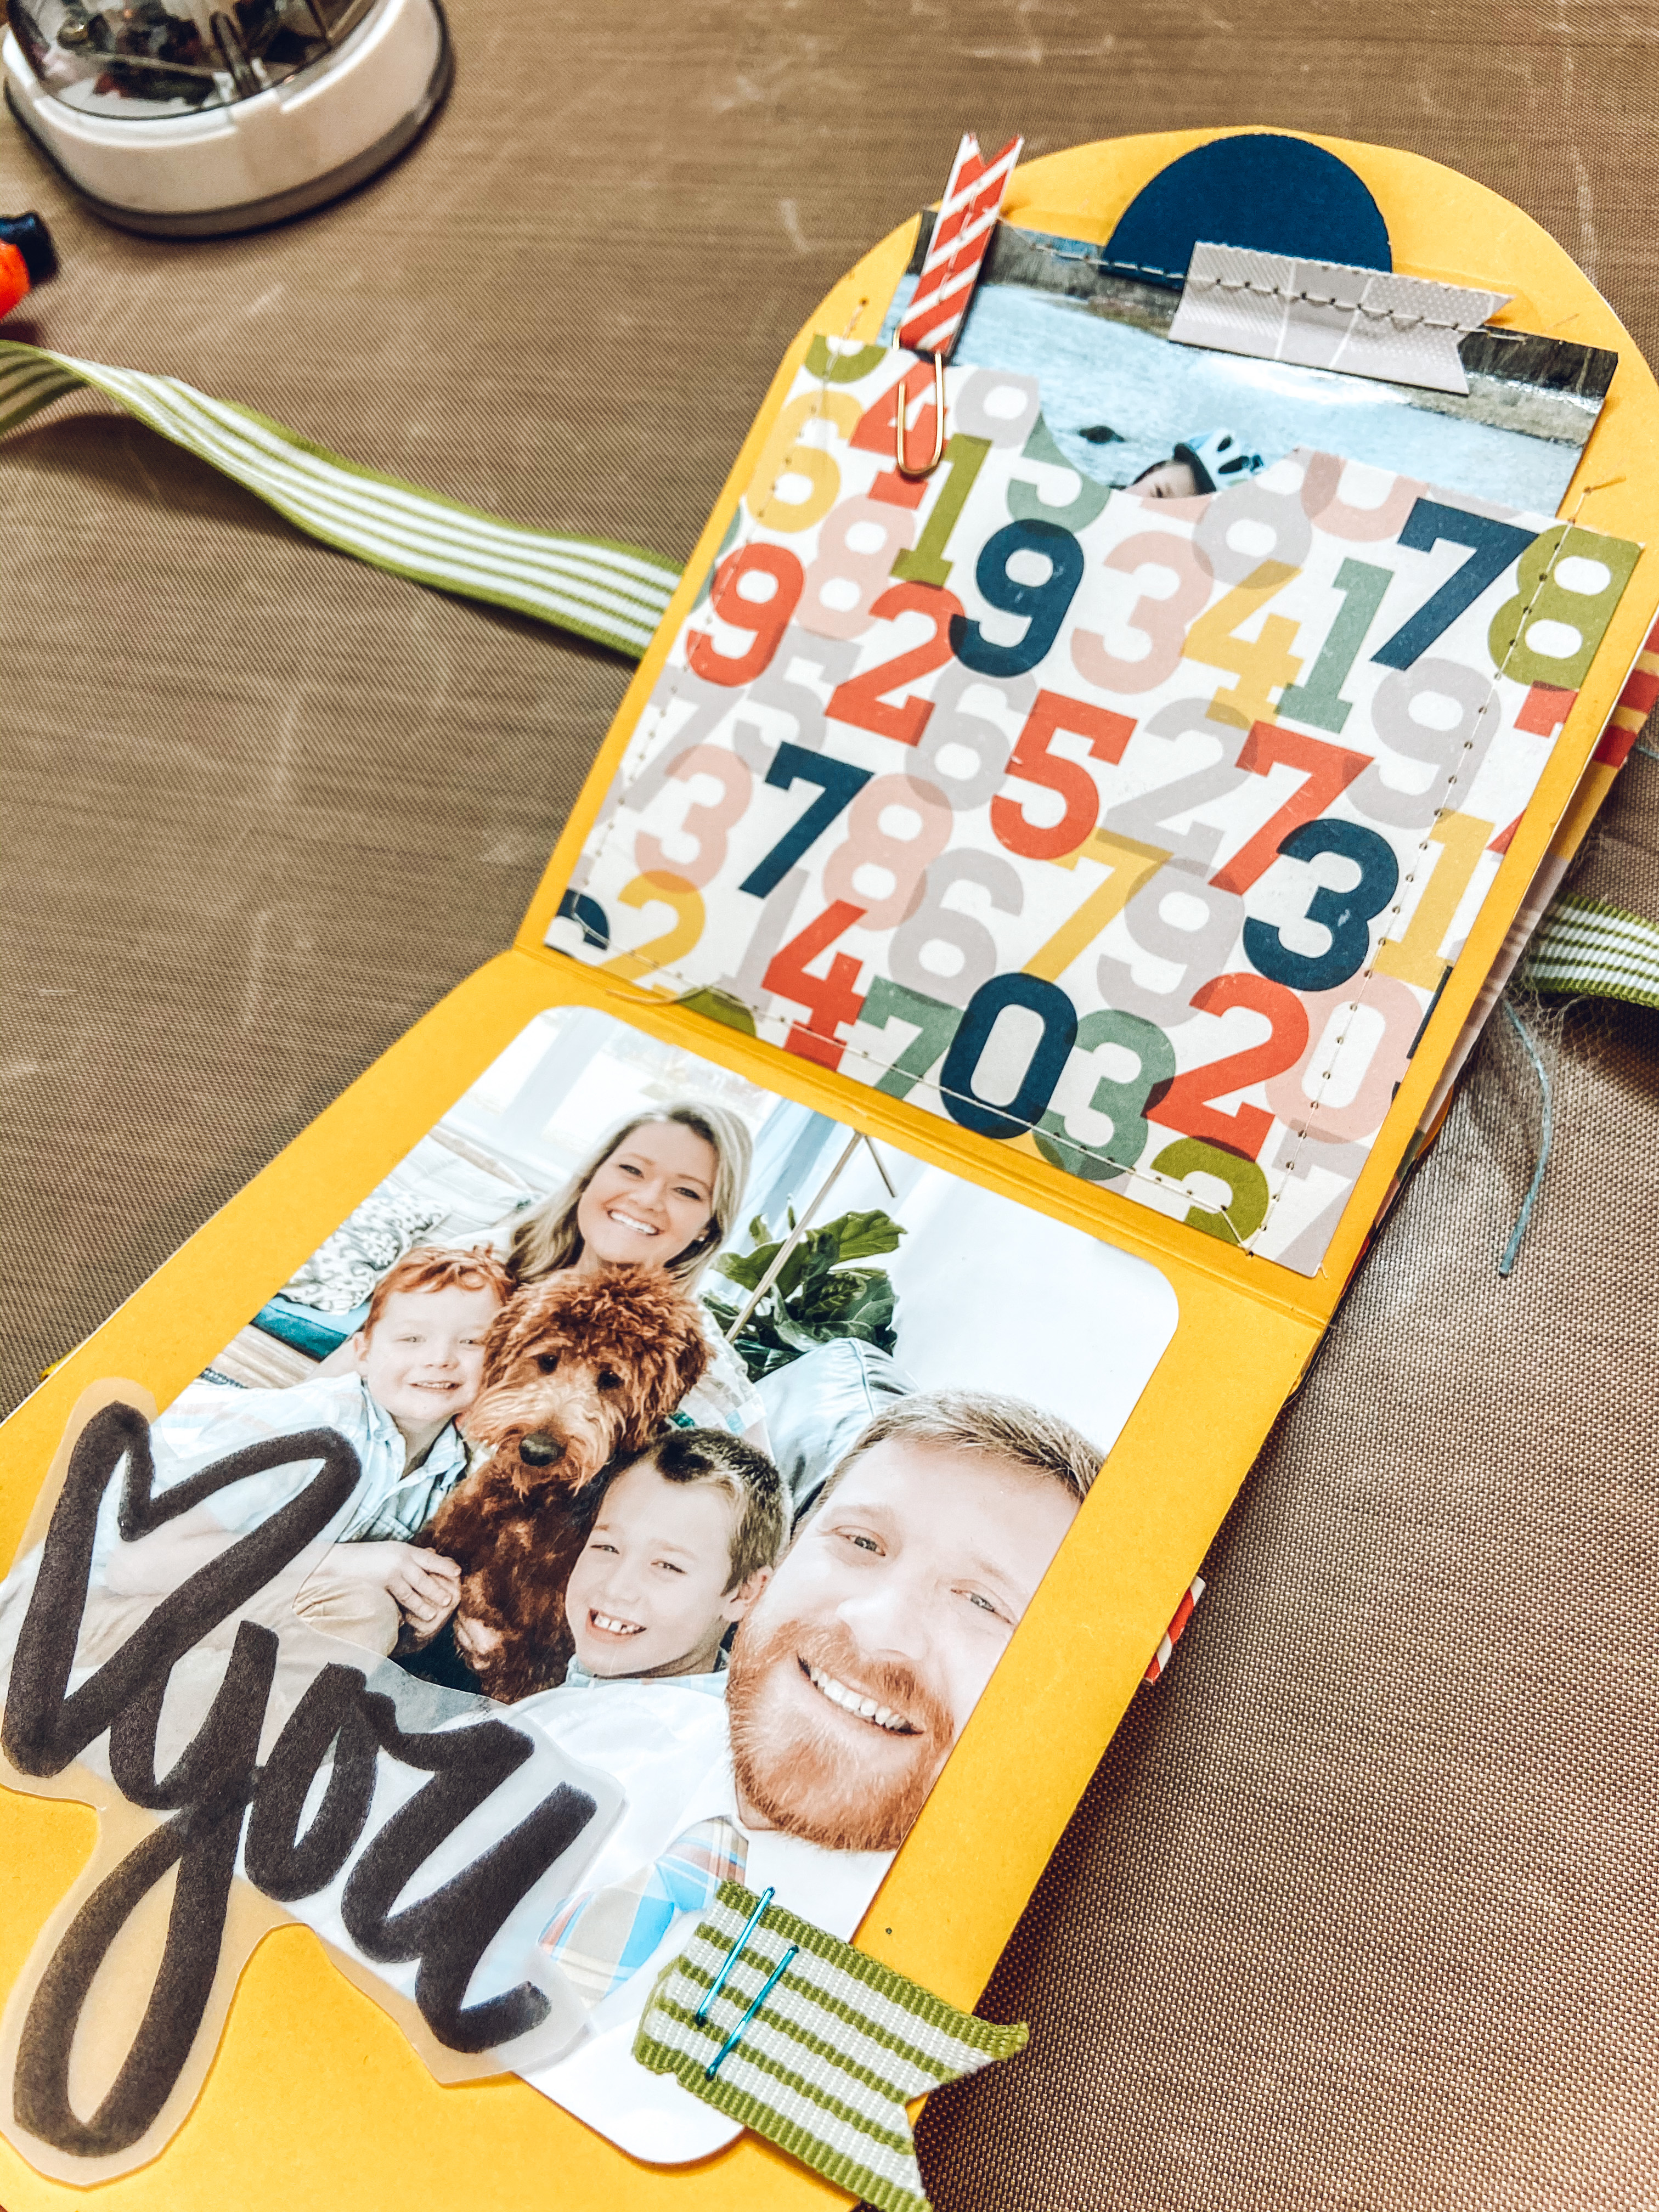
This book is a great project for thoughtful fathers day gift or just a place to store some summer photos.
SUPPLIES:
Varying and matching patterned cardstock (3 solid colors, 3/4 patterned)
Large popsicle stick. I used these but can also find at any craft store.
Ribbon
scissors/ paper cutter
Ruler
Sewing Machine/glue.
Corner curever
VIDEO INSTRUCTIONS:
INSTURCTIONS:

1. Cut 11 pieces of card stock into 4.75" x 6" pieces. One will be a stencil for the curve


2. Crease bottom edges at 1/2" and chomp bottom corners to make a curve.


3. Create the top curve stencil by grabbing your extra piece of 4.75" x 6" paper and folding it in half. Use a circular item (I used the spool of tulle) to trace a curve around the top. Now cut that curve. You will use this curve to trace along each of the other pieces of paper and cut the top popsicle curve.

4. Order papers in the order you want them to appear. You will be gluing/sewing two pieces together to create one thick page. I liked to alternate between patterned and solid.

5. Create a pocket for the first page by cutting an extra piece of paper 3" x 4.5". Sew pocket onto the front piece of paper for that page. Sew along the sides and bottom...not along the top. you will put a photo or a message in that pocket.

6. Now that your pocket is sewn on, you can sew/glue the back piece of paper onto the page. You can also do this with the cover and the third page.


7. The forth page will have a side pocket so you do not want to sew it completely together. Sew along the bottom side, around the left side, over the top and stop where the top curve ends and then turn 90 degrees and sew straight across the page You now have a side pocket. You can use a circle punch to create an easy place to pull the picture/paper from the side.

8. Your last page will have the popsicle stick in between the pages so you do not want to sew those pieces together yet. Place your back piece of paper face down and spread glue over it. Place your popsicle stick and place the front side of the page on top. You can now sew around it avoiding the popsicle stick.

9. Grab your ribbon and make sure it is long enought to tie around your booklet. Place it on the back side and sew it onto the back straight across avoiding the popsicle stick.

10. Start sewing your pages together on the bottom side below where you creased the pages at 1/2" Sew one page at a time avoiding the popsicle stick on the bottom edge until each page is assembled.


0 comments